Manage Environment Settings
To change or analyze the current environment settings, select Settings from the Settings category in the menu, and then click the Environment settings tab.
Environment Settings View
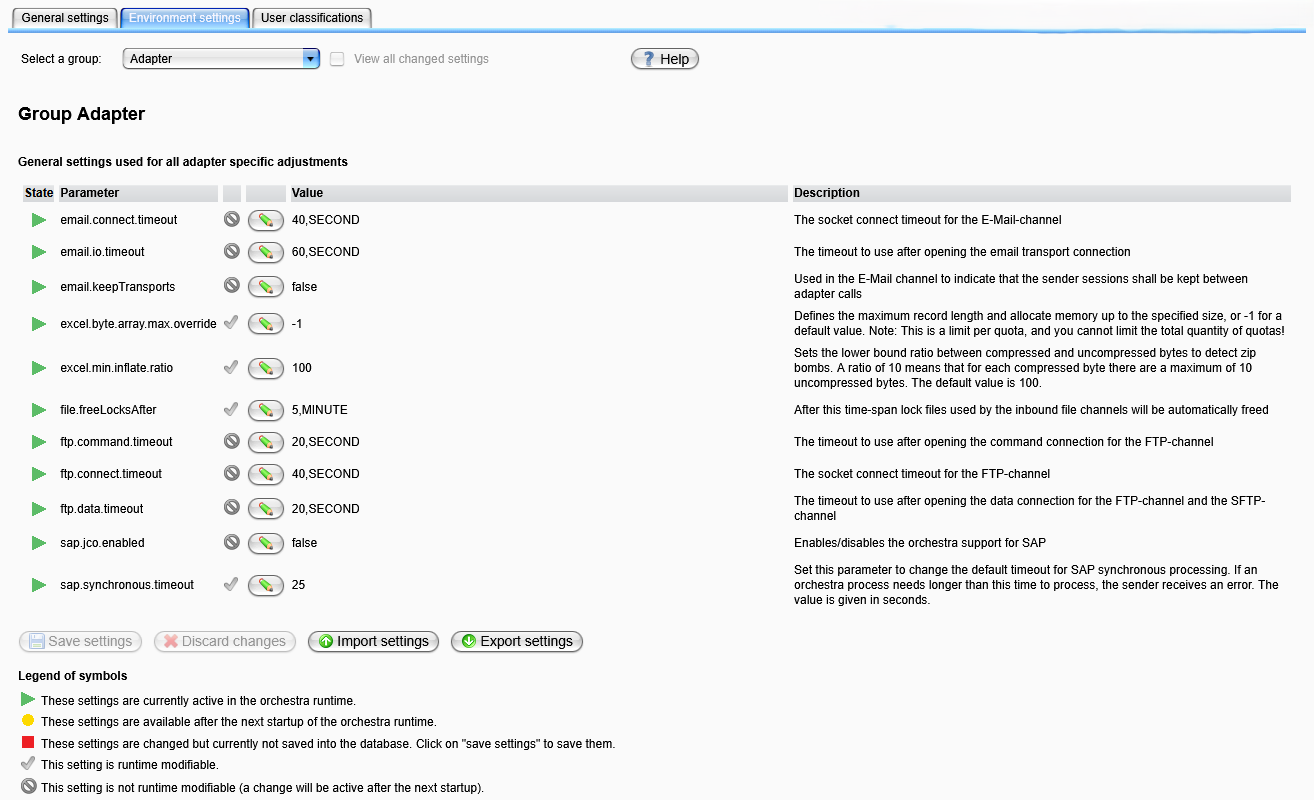
Environment Settings - Start page in Standalone mode
See Environment Settings for a list of all available settings.
If you only want to analyze the settings, use the drop-down list labeled Select a group to choose the group you wish to examine. All settings will be loaded in the table, displaying their current values and usually a description.
If a setting is modifiable, a button with a pen icon will be available for editing the setting.
Whenever a change to a parameter takes effect immediately while Orchestra is running (i.e., no system restart is required for the change to be active), this will be indicated by a tick in the second column. Otherwise, a forbidden symbol will be displayed. An explanation of this can be found by clicking the help button.
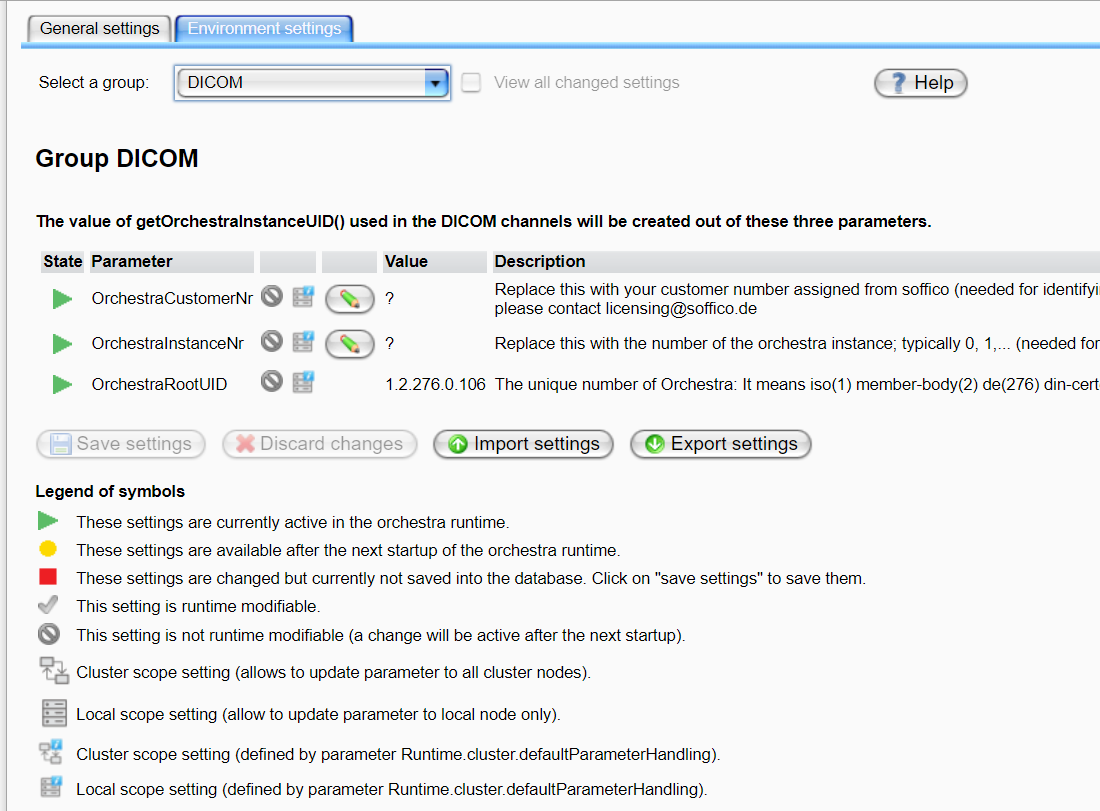
Environment Settings - Start page in Cluster mode
In cluster mode, an additional indicator provides the update scope for each parameter. This scope indicator appears as an icon next to the modifiable indicator.
There are two different scope types:
-
Cluster scope setting: This setting allows updates to the parameter on all cluster nodes.
-
Local scope setting: This setting allows updates to the parameter on the local node only.
If Orchestra is running in cluster mode, and at least one of the changed parameters is a cluster scope setting, clicking the Save settings button will bring up this confirmation dialog:
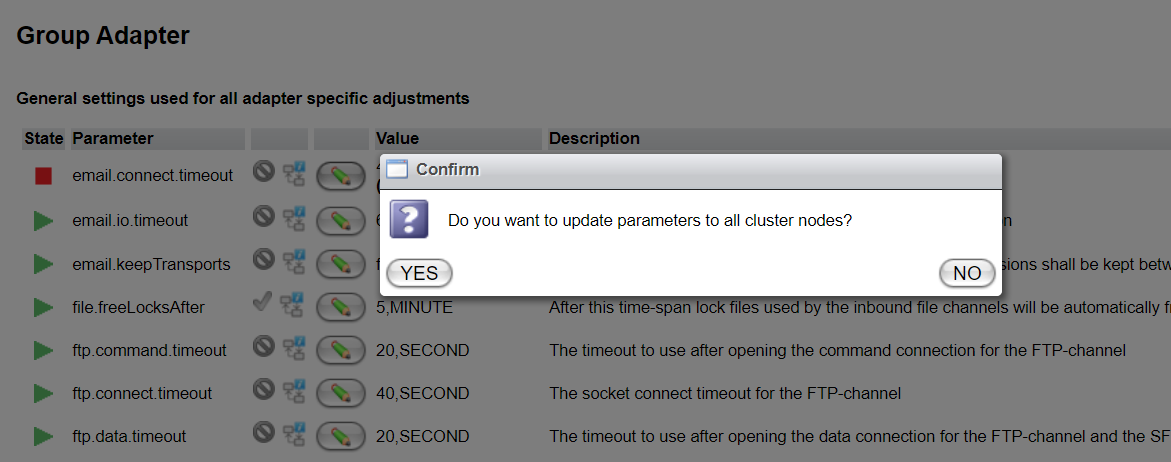
Select YES to update the parameter value on all cluster nodes, or NO to update it only on the local node.
Permissions
- To view environment entries and export settings, the EnvironmentSettings.Reader role must be assigned to your user.
- To edit settings or import groups, the EnvironmentSettings.Writer role must be assigned to your user.
These roles can be assigned in the User Management view. If a user does not have the required role, relevant buttons for additional functions will not be visible or enabled.
Editing Environment Settings
If a setting is modifiable, you can edit it by clicking the pen button. A new dialog will open:
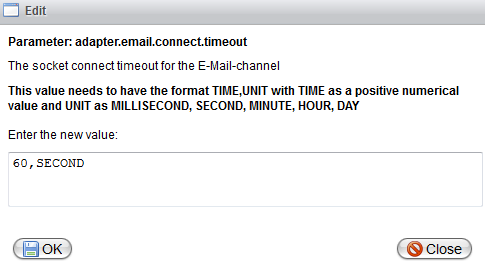
In this dialog, the parameter name and description will be displayed at the top, followed by an explanation of the type and format requirements. If the new value does not meet these requirements, the change will not be saved, and an error message will be shown instead. For the String type, no additional explanation is provided, but this does not imply that all values will be accepted.
Clicking the OK button will store the change locally, but it will not be saved in the database yet.
You can continue to change further parameters and eventually click Save settings in the button bar at the bottom to store the settings in the database. To undo changes, click Discard changes; this will result in the loss of local changes.

For auditing purposes, changes will trigger the generation of a system event, which includes information about the user who made these changes.

Setting State
The state of the settings can change based on your actions:
-
Green triangle: The setting is currently active, indicating that the current value is being used at runtime.
-
Red square: The setting has been changed and is locally saved but not stored in the database. The currently active value remains displayed in the value column while the new value is shown next to it in brackets.
-
Yellow circle: The setting has been changed, and the new value is stored in the database, but it is not active yet. A restart is required for it to become active. The old value is still shown in the value field, with the new value next to it in brackets.
Automatic Backup Export
If you configure the setting runtime.environment.bakup to point to a path on the server, an automatic export of the changed groups will occur with every click of the Save settings button. The export file will be named settings<timestamp>.xml and stored in the configured folder. This feature is useful if a change causes issues and you want to restore the old settings.
Changed Settings Overview
To view all changes currently made, click on the Changed settings checkbox.

A list of all locally saved changes and all changes that will take effect on the next startup will then be displayed. You can modify these settings directly from this page. If a setting is runtime modifiable and has been locally saved (so it appears on the page), clicking Save settings will activate it, which is why it may disappear from this page afterward.

Import and Export Functions

Export
Clicking Export allows you to select all groups you wish to export. The export is conducted using the current active settings. If some settings are marked with a yellow circle or a red square, the values in brackets will not be exported; only the values before the brackets will be included. In this case, a brief warning message will appear before the export dialog.

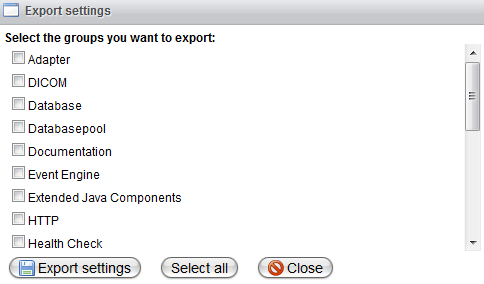
After making your selection and clicking on Export settings, an XML file will be generated for download. It will be named environment_settings_<node>.xml.
Import
Clicking Import prompts you to choose a file for uploading. Select the file with the appropriate format and information, and then click Upload.
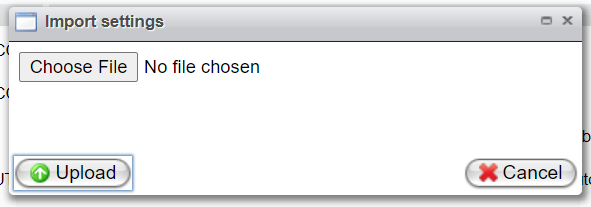
In cluster mode, the Import to all cluster nodes option will appear under the Choose File button, as shown below.
When this box is checked, the imported settings will be updated to all cluster nodes.
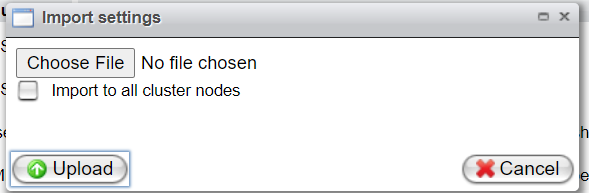
Loading the groups involves checking which groups are present in the selected file. The next dialog will allow you to choose the groups you want to import.
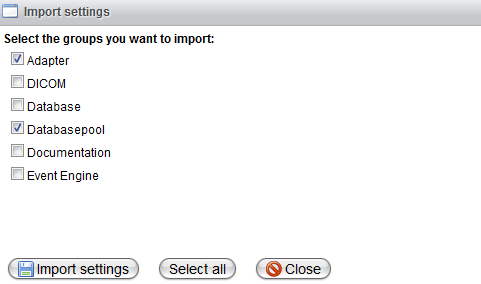
After the import operation, you will receive either a success or error message. In the case of a success message, the imported settings will be displayed in the table with the correct state (according to the state explanation). If there are any non-modifiable or nonexistent parameters in the file, those settings will be ignored, and a dialog with a list of ignored settings will open.